
We all occasionally experience coughing, and our pets are no exception. In fact, it’s just an instinctive reflex that helps sweep away anything blocking their air passages.
We all occasionally experience coughing, and our pets are no exception. In fact, it’s just an instinctive reflex that helps sweep away anything blocking their air passages.

Sleeping a lot could be perfectly normal for a pet, or it could be a sign of an illness, anxiety, or other problem.
Read Time: 5 minutes
A vital part of keeping your dog safe is knowing how to respond in emergencies. Administering first aid can help save their life, especially in instances when waiting for a vet might take too long. Let’s break down the most common types of emergencies and what to do to help your dog.

The most important thing to do when your dog has an emergency is to remain calm and act rationally. This can be difficult when you are panicked or scared, so it’s best to be prepared. First aid will not always solve your dog’s underlying problem. The main purposes of first aid are to preserve your dog’s life, reduce their pain and discomfort, and minimize any risk of disability or disfigurement.
Start by taking the following steps:
Sometimes you will need to restrain your dog if they are panicking. Be as calming and gentle as possible. You may have to muzzle them (unless they are choking or experiencing heat stroke) to prevent them from biting you. You can use a leash, belt, sock, or rope to create a makeshift muzzle. Then wrap them in a blanket or towel, keep the head exposed, and do not block the dog’s airways. If you are nervous about a spinal injury, immobilize the dog using cords or straps, but be careful around their head and neck.
Your next steps will depend on what type of emergency your dog is experiencing.
If your dog appears to have fractured or broken bones, follow these steps:
If your dog is bleeding, utilize a dressing, piece of clothing, or absorbent bandage to apply pressure and stop the bleeding. Hold the dressing with pressure for several minutes before checking to see if the bleeding has stopped. If it continues, get to a vet as quickly as possible to minimize the risk of infection. In severe situations, you can apply a tourniquet using an elastic band or gauze.
Sometimes dogs go into shock, which is a reaction due to emergency situations such as trauma, loss of blood, or heart failure. Symptoms include:
Shock can be fatal, so it is vital to take action as quickly as possible. Your dog might become quiet and unresponsive as the shock continues. Follow these steps:
If your dog is in shock, they also risk choking or not breathing. We describe how to respond to these problems below.
Choking is a serious hazard to your dog’s health. Symptoms include retching, excessive pacing, and pawing at the mouth. Your dog might not produce any sound if the airway is totally blocked. Follow these steps:
If your dog is not breathing, you should begin rescue breaths before beginning CPR. Follow these steps to perform rescue breathing:
If your dog has no pulse or heartbeat, you should begin administering CPR.
Note: you should not perform chest compressions and rescue breathing at the same exact time. You should alternate between them or work with another person. One person can do the chest compressions for four to five seconds, then stop long enough for the other person to give one rescue breath. Continue until you hear a heartbeat and the pet is breathing normally.
If your dog has been burned or scalded, cool the burned area with cold water as soon as possible. Cover the burned area with damp towels. If the burn was caused by something potentially hazardous, rinse for 15 minutes and call your vet ASAP. If the dog was exposed to smoke or fire, give them water to drink as soon as possible.
If your dog has something in its eye, try to rinse it out with an eyewash or a contact saline solution, as long as saline is the only ingredient. Don’t let your dog rub its eye and get it to the vet as soon as possible.
Keep the seizing dog in a dark, quiet, and confined area away from furniture or other dangers until you can get medical attention. Do not try to get into their mouth as they will likely bite you. Time the seizure. After it is over, keep them as warm as possible until you get to the vet.
Sometimes, nursing mothers can seize due to eclampsia. If this is the case, take the nursing puppies off the mother as soon as possible.

Heat stroke is a largely preventable ailment, but it’s important to know how to respond if it does happen. Signs of heat stroke include excessive panting and obvious distress. Follow these steps:
Call your vet immediately, do not make your dog throw up, and do not let them groom. Read our blog post on potential poisoning for detailed instructions.
To prepare for future dog emergencies, keep your vet’s number and address in your phone and somewhere easily accessible in the house. Keep a pet first aid kit in your home and your car. Additionally, consider taking a pet CPR or first aid class to learn life-saving skills.

Concerned about your pet’s health?
If you have any questions about your cat’s behavior, please call our clinic at (407) 352-2579. We’ll help you through it.
Read Time: 4 minutes
Does your pet have bad breath? It might be a sign of hidden dental problems or the need for a dental cleaning performed by a veterinary professional. To keep your pet’s teeth in check between annual exams you can use dog-specific toothbrushes and toothpaste, dental treats and bones, chew toys, and water additives. But, even when using these extra measures, prepare to have your dog’s teeth professionally cleaned. You’ll likely need to have your dog’s teeth cleaned more often if they are a small dog breed due to crowding in the mouth or if they are a senior canine.
The main techniques for keeping your dog’s mouth clean are by brushing, using dental treats, and having your veterinarian perform dental cleanings as needed. There are also a handful of supplemental teeth cleaning options for maintaining your dog’s oral hygiene. These options include tooth wipes, chew toys, dental bones, and water additives.
Preventative dental care for dogs costs a fraction of the price tag on treating tooth-related diseases. This realization has shown a spike in dental care-related spending by pet owners. And with 8 in 10 dogs showing signs of oral disease by their third birthday, it makes sense to put in the upfront effort to maintain your dog’s oral health.
While 76% of pet owners agree that oral hygiene is important for overall health in their canine companions, only 10% brush their dog’s teeth at least once weekly. But brushing your dog’s teeth is the most effective way for you to fend off plaque before it turns into tartar, a process that takes 24 to 48 hours.
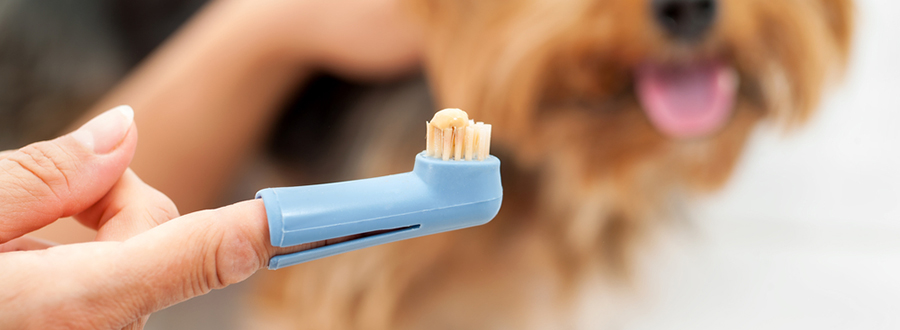
You’ll want to use a dog-specific toothbrush. If you can’t locate one made for dogs, try a soft-bristled child’s toothbrush or a finger toothbrush. You’ll pair this with dog-specific toothpaste. Never use toothpaste meant for people. Baking soda and salt should also never be used as dog toothpaste-supplements as they can be harmful to your dog. Plus, your dog will be more receptive to dog toothpaste which is usually flavored to taste like poultry or another dog-approved taste.
#1
To begin the toothbrushing process, kneel or sit by your dog’s head. You don’t want to crowd or restrain your pet. This will only make them fearful and associate toothbrushing with being held down.
#2
If you’ve never brushed your dog’s teeth or handled their mouth, start by rubbing your finger along their teeth and gum line. This is to help your dog become familiar with have their teeth touched. Don’t be surprised if your pup isn’t a huge fan of this. If they are especially resistant, try slowly warming them up to have you touch their teeth over multiple brushing sessions before ever using the toothbrush.
#3
Once your dog has accepted having their teeth touched by you, let them test out the taste of the dog toothpaste. If they aren’t a fan of the type you’ve picked out you can test out different flavors and brands until you find one they enjoy.
#4
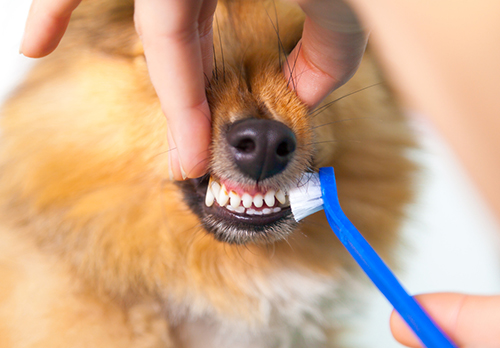
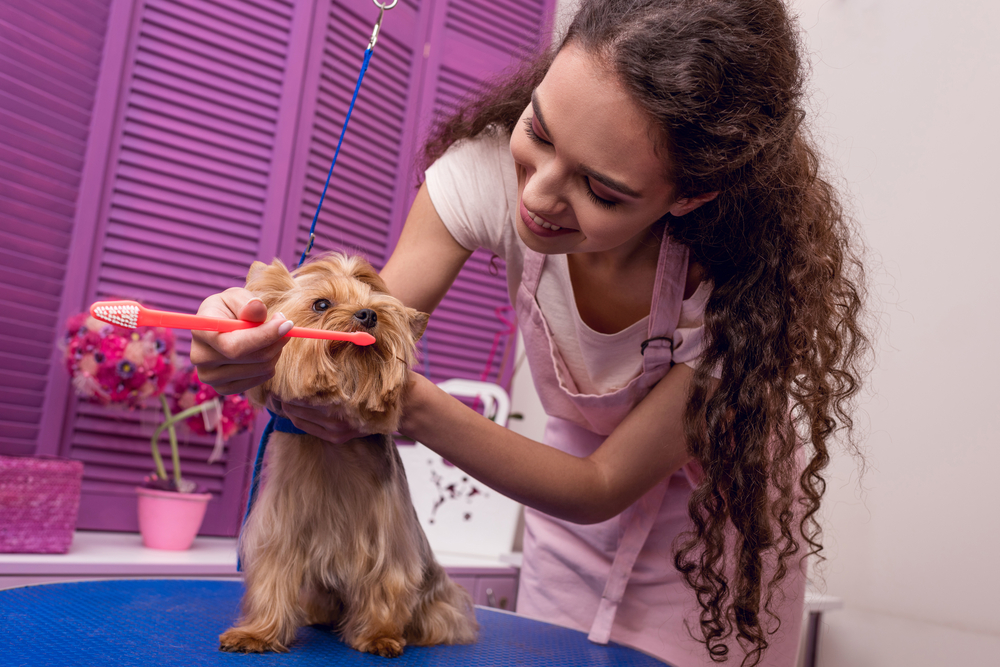
Now it’s time to begin brushing. Gently place the toothbrush at a 45-degree angle of the gumline. This will better clear away plaque than placing the toothbrush flat against the tooth. Use gentle circular motions across all top and bottom teeth. Throughout the process, be gentle, reassuring, and always end with a treat and praise.
Try to brush their teeth every few days or once a week.
Note: Some bleeding may occur during this process. Monitor the status of bleeding to ensure it is not severe. While minor bleeding is normal, severe bleeding could be a sign your dog is developing periodontitis. If major bleeding occurs contact your pet’s vet as soon as possible.
If your dog says no way to toothbrushes, you might be able to get away with using toothwipes. These premoistened wipes can be used daily to wipe the surface of the teeth. Toothwipes are textured specifically for use on dog’s teeth to clean but not damage gums. They are convenient and quick to use with no need for rinsing.

Dental treats are lining pet store shelves and they can be great, convenient ways to slip in an extra oral health-conscious decision into your dog’s everyday life. Some dog dental treats on the market today can reduce your dog’s plaque by up to 70%. This is achieved by larger diameter treats with a coating called polyphosphate. The Veterinary Oral Health Council (VOHL) gives its seal of approval on products able to reduce plaque by 10% to 20% depending on the specific uses. A full list of products that received their seal of approval can be found here.
But even with a better doggy smile in order, you’ll want to limit the number of dental treats your dog receives. You don’t want to trade out dental problems for weight problems.
If you’re trying to watch your dog’s weight, there are other ‘fun’ ways to practice oral hygiene with your pup.
Chew toys and bones give your dog something to gnaw on that will work at the buildup on his teeth and in the crevices of his teeth. This helps to kick plaque to the curb before it hardens and becomes tartar. You can also opt for a dental-specific diet to replace his current kibble. But check with your vet before you make the switch. They’ll be able to guide you to the best brand for real results.
While dental treats, chew toys, bones, and dental health-specific diets can all help to improve your dog’s oral hygiene, it can’t replace brushing and professional cleaning. These products can clean the surface of your dog’s mouth, but they aren’t able to clean under the gumline. This is where plaque really gets established and starts wreaking havoc. So while these dental hygiene options are beneficial, they shouldn’t be the only measure you take to ensure your dog has a healthy mouth.
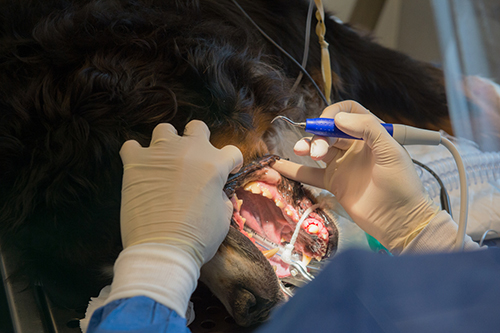
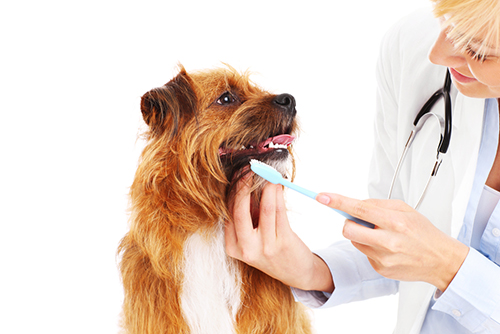
While you can practice every other method of canine dental hygiene, professional dental cleanings shouldn’t be skipped out on. Your veterinarian and their trained staff will remove tartar and make any necessary teeth extractions to get your dog’s mouth back to tip-top condition.
You should prepare for professional dental cleaning once a year. But speak with your vet to develop the best plan for your pup. Some dogs may be able to wait longer between cleaning while some may need them more frequently.
Professional cleanings once per year is recommended by most veterinary professionals. However, your veterinarian will assess your dog and determine the best treatment plan for your pet.
Your pet may need more frequent cleanings if they are older, have advanced dental problems, or are a small dog breed. Small dog breeds are notorious for their bad teeth. This is caused by their mouths being smaller and becoming overcrowded. Their overcrowded teeth are then more susceptible to periodontal disease.
If you take a peek into your dog’s mouth you can potentially spot developing problems before they worsen. Healthy dog gums are pink or mottled. Their gums shouldn’t be red, swollen, or oozing. Also keep an eye out for pale pink, white, blue and purple gums. Basically, if they’re not a healthy pink, it’s time to call your vet.
While your dog’s breath will never revert to its puppy breath stage, you can still spot a rising oral health problem. If your dog’s breath is particularly pungent they may have a dental disease.
Healthy dog mouths will not have any broken teeth or obvious, significant plaque buildup around the gumline.

Knowing what to look for and what can happen to a dog with unmaintained oral hygiene can help dog owners stay on top of keeping their dog’s mouth properly managed. Here are the most common canine dental problems to watch out for.
Sometimes lumps and bumps will form in your dog’s mouth. While these might be nothing to worry about, you’d rather be safe than sorry. Have your vet check to see if the newly-formed bump is a tumor or cyst.
If it’s a cyst, your vet may need to drain it. If it’s a tumor, your vet will likely suggest it be biopsied to determine whether it is cancerous or not.
What it looks like: Raised lumps on your dog’s gums. Will likely be one solitary lump.
Halitosis, otherwise known as bad breath, is caused by bacterial buildup in the mouth. While you should start brushing your dog’s teeth more regularly, it doesn’t hurt to have your dog examined by their vet. Halitosis sometimes points to an underlying infection or kidney disease.
What it looks like: You’ll smell it rather than see it. It will be more intense than normal ‘doggy breath’.

Plaque is the dark brown or yellowish buildup on your dog’s teeth. It will likely be concentrated around the gumline. Plaque will turn into tartar within 24 to 48 hours. At which point you won’t be able to simply brush it away.
If you notice an increase in plaque or tartar buildup on your dog’s teeth, it may be time for a professional cleaning. Contact your veterinarian for an exam to determine if and when your dog will need to be scheduled for a dental exam.
What it looks like: Dark brown or yellow buildup on dog’s teeth, concentrated around the gumline.
Proliferating gum disease occurs when the gums begin to grow over the teeth. Dogs with proliferating gum disease are more susceptible to developing infections.
What it looks like: Gums growing over teeth, more common in boxers and bull terriers.
Dogs develop gingivitis just like people. Luckily, you can reverse this dental condition with a change in your pet’s oral hygiene habits. Begin brushing your dog’s teeth more often and making other small changes in favor of healthy teeth. Your veterinarian can help guide you in making the best decisions for your dog as you manage this dental condition.
What it looks like: Irritated gums and an excess of plaque.
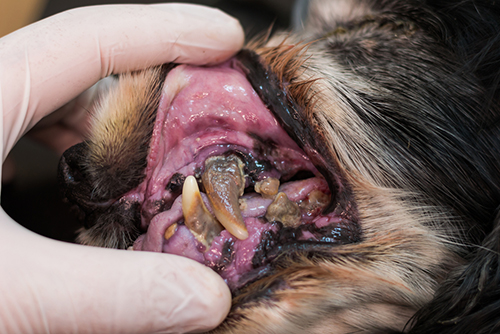
Dogs can begin to show signs of periodontitis as early as three years old. Given it’s the most common dental condition in dogs, you’ll want to take special precautionary measures to prevent your dog from developing it.
Dogs with periodontal disease will experience pain, loosening teeth, irritated and swollen gums, and in severe cases, nasal discharge.
Book an appointment with your veterinarian at the first sign of your dog developing periodontal disease. Your veterinarian will be able to develop a treatment plan to help manage your dog’s condition.
What it looks like: Yellowing or brown teeth, loss of appetite or difficulty eating, and irritated gums are all signs of periodontal disease.
If your pet is up-to-date on his exams but is exhibiting any of the following symptoms, contact your vet to have his teeth checked:
You want to tackle dental problems before they progress. By contacting your veterinarian as soon as you become aware of your dog’s symptoms you are more likely to resolve the problem before it becomes a major problem for your dog’s comfort and your wallet.
If you haven’t had your pup’s teeth checked in the past year or longer, schedule an appointment to get them on the path to lifelong oral health.
Our team of veterinary experts can help restore your pet’s oral health.
Read Time: 2 minutes
Microchipping your pet is one of the most effective ways to be reunited with a lost or stolen pet.
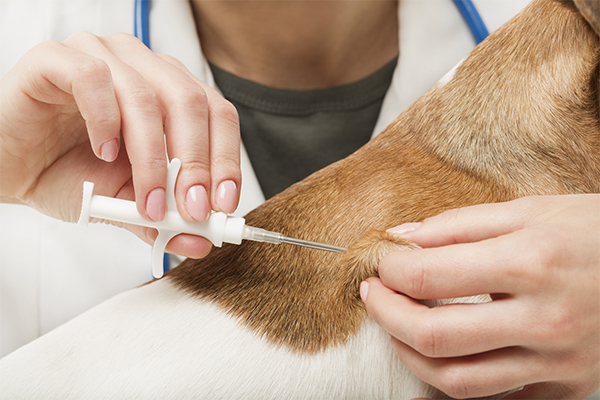
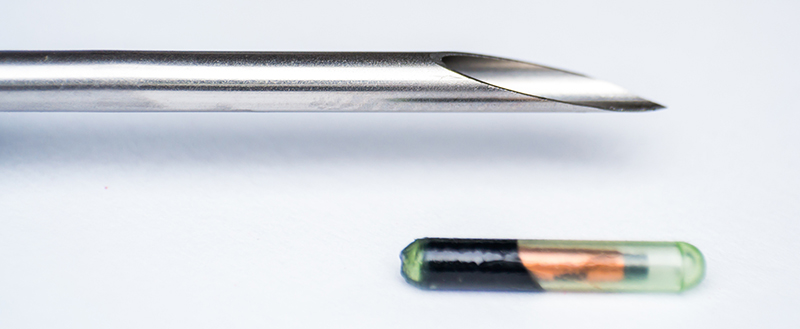
A microchip is about the size of a grain of rice and is placed under your pet’s skin, usually between the shoulder blades. It is placed in a sterile applicator and injected in the loose skin, causing no more harm to your pet than you normally feel with having blood drawn.

While a microchip may not exactly help you find your lost pet, it works the other way around. If your pet is taken to a vet or animal hospital, the information on the microchip will allow them to reach out to your and reunite you both.
While a collar is useful in reuniting you with your furry friend, it provides significantly less information than a microchip. It can also be easily taken off by your pet, another animal, or a person. That’s why we recommend equipping your pet with both a tagged collar and a microchip.
If your pet is lost or stolen and ends up at a vet or animal shelter, the first thing that they’ll do is check for a collar and microchip.
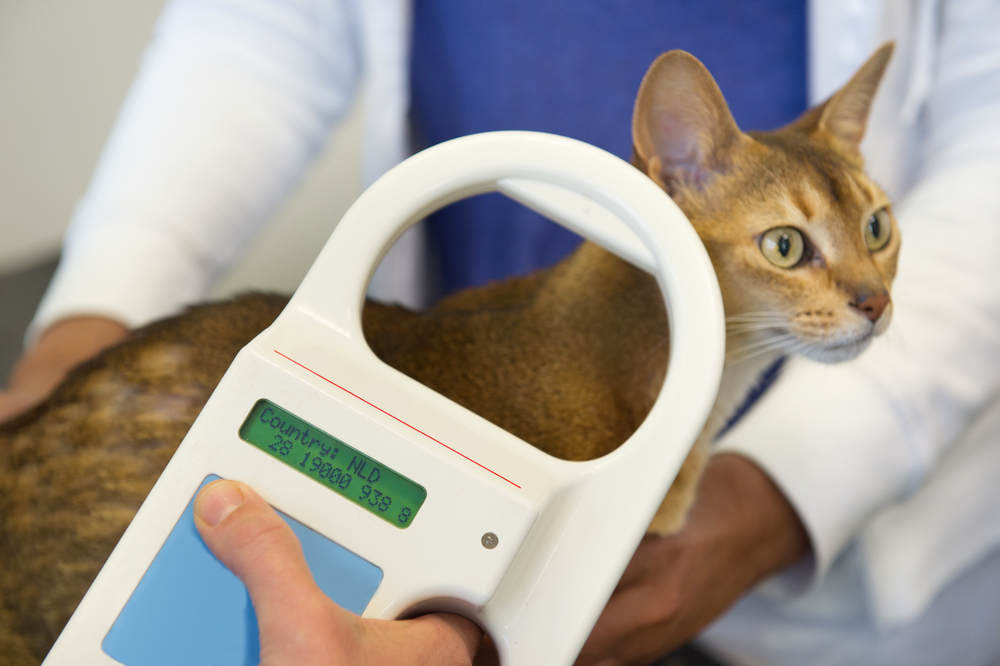
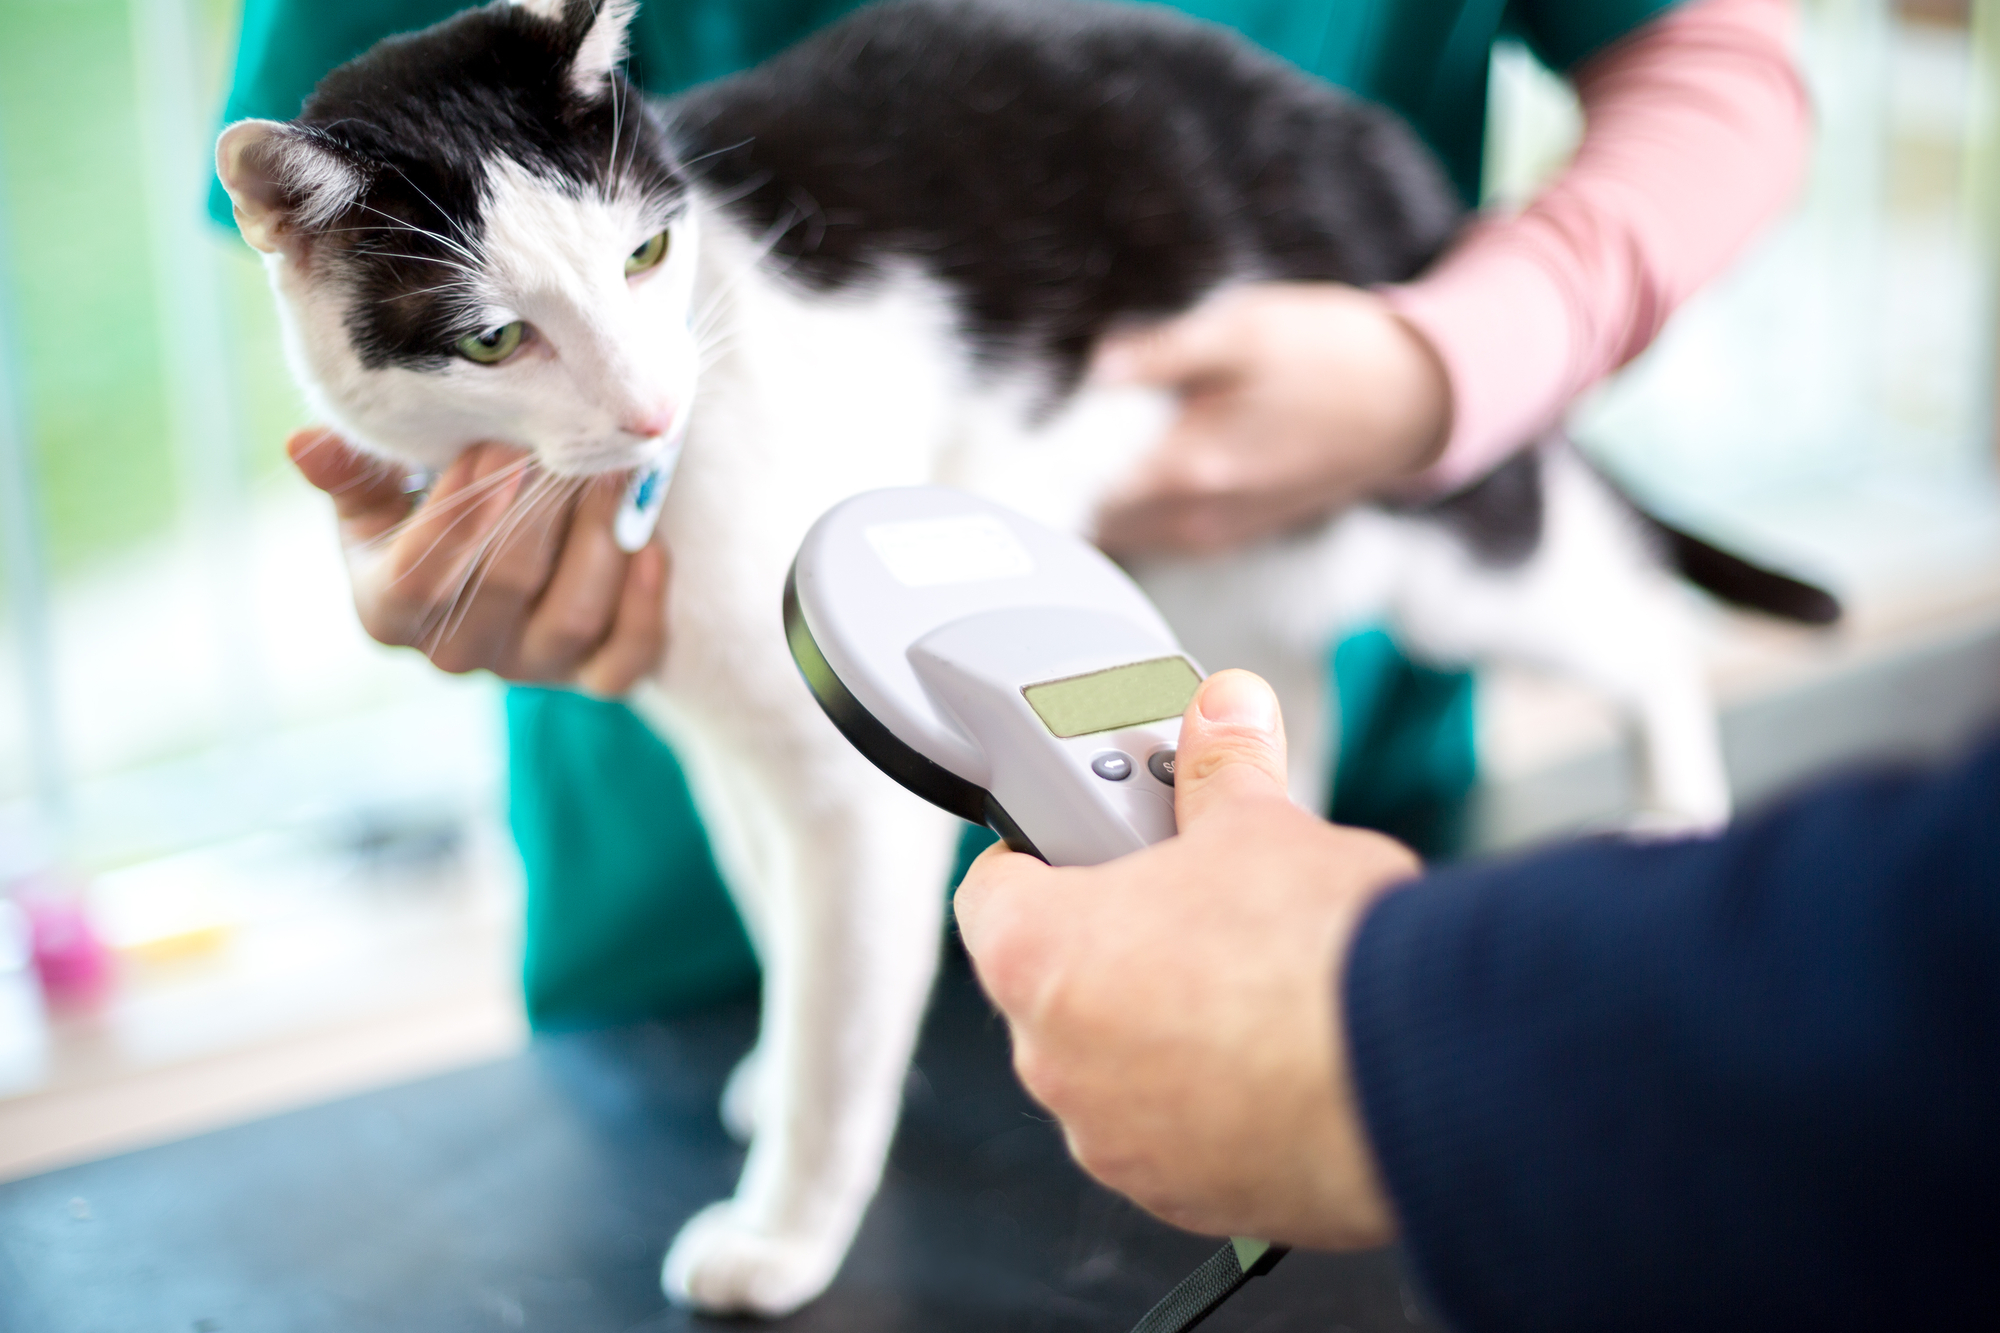
A scanner will be used on your pet to check for the microchip. It is placed outside of the skin near where the microchip was implanted. The chip will then use radio frequency identification (RFID) technology to transmit your pet’s registration number.
As long as you have registered your pet’s microchip, the vet or animal shelter will be able to see your contact information and reach out about the whereabouts of your pet.
Your pet’s microchip is useless without up-to-date information in a registry. As soon as you get your pet microchipped, register them at any and all registrations that you can find. Some popular ones are:
It’s vitally important to update your information in the registries anytime that it changes. If you move, get a new phone number, change your last name for a marriage, or any other cause of information changing, remember to update your information so that your pet can get back to you safely.
While microchips don’t give your pet’s location, GPS options do exist. However, they’re extremely different from microchips. GPS devices for your pet:
If your pet gets lost extremely often, a GPS tracker may work for you, but be aware of the ongoing cost and maintenance that they typically require.
Read more about how we can help with microchipping your pet.

Read Time: 4 minutes
Whether you’re bringing a new furry family member to your established vet or taking your pet to a new vet, there are certain things that you should bring with you to the first visit. These include documents like medical records and your own identification but also any information you have about your pet that could help your vet.
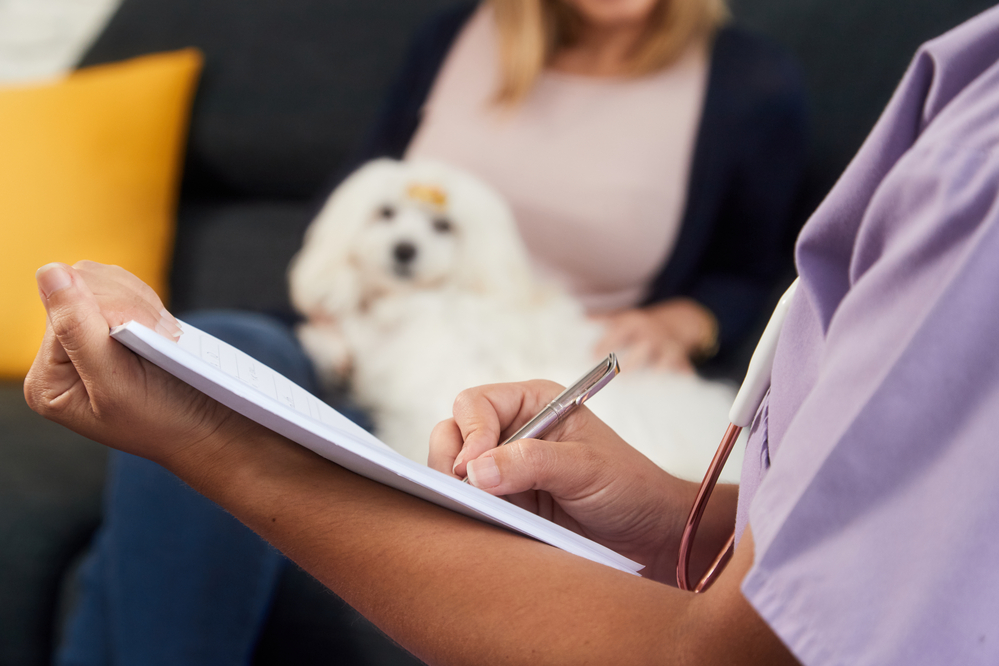
If you’re switching to a new veterinarian for any reason, the most important thing to bring with you to the first visit is whatever medical records you have for your pet. The more detailed these records are, the better. Call your previous veterinarian to obtain them if necessary. If you can’t get the records, then anything you have is better than nothing at all.
If this is your first time with this particular vet, you’ll also need your own identification, like your driver’s license. Your vet will need to verify your identity and set up your profile with that vet’s office.
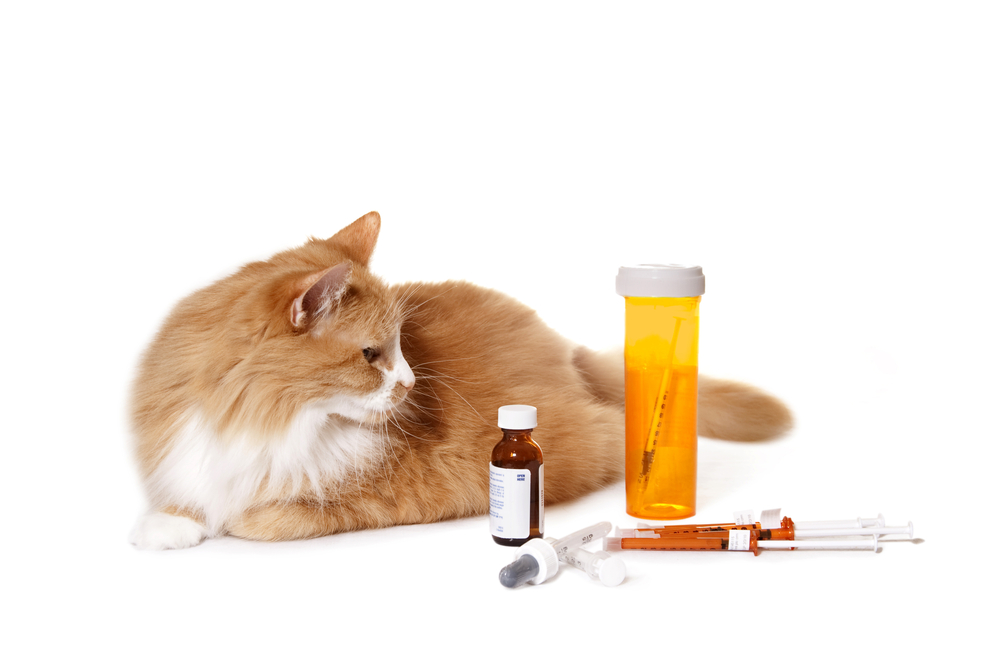
If you have been giving your pet any medications, you should bring the medications themselves and also a list of how frequently and how much of each medication you give your pet. This is so your new vet can evaluate what you’re giving to your pet and whether the medication is expired or needs a dosage adjustment. Keep in mind that this includes vitamins, flea treatments, and other normal medications, not just prescriptions for an illness or health condition.
Nutrition plays a major role in your pet’s health. For this reason, your new vet will need to know exactly what and how much you’re feeding your pet. You don’t have to actually bring in the food, but take photos of the bag or write down what it is you buy.
Many pets are nervous at the vet. For this reason, go ahead and bring something that will help your pet to feel more comfortable. This could be your dog or cat’s favorite treat or a toy that will help them to relax and feel less nervous. If you don’t feed your pet prior to the appointment, your vet can feed them during the visit, which can help to calm your pet down and make the visit better.
Vets test stool samples for parasites and will need one from within 24 hours of your first visit. If you are concerned about your pet having a urinary issue, you can also bring a urine sample for testing.
If you have any concerns about your pet’s health or any questions for your new vet, write them down and bring that list with you to the appointment. Your vet will be happy to answer any questions you might have and the list can help make sure that you don’t forget anything.
While the above items are commonly helpful to bring to your first visit, every vet is different. It’s a good idea to call your vet ahead of time and ask what they’d like you to bring with you. That way, you’ll be absolutely certain that you’ve got everything you need.
Concerned about your pet’s health?
If your pet is exhibiting concerning symptoms or experiencing a medical emergency, please call our clinic at (407) 352-2579. We’ll help you through it.
Read Time: 3 minutes
Picture this: Your pet manages to get out of your home, they slip out of their collar with your phone number and name, and completely disappear. It’s a scary situation to find yourself in as a pet owner. But with one small change, you can increase the odds of bringing your pet home safely. In fact, over 52% of dogs are returned to their owners thanks to a microchip.
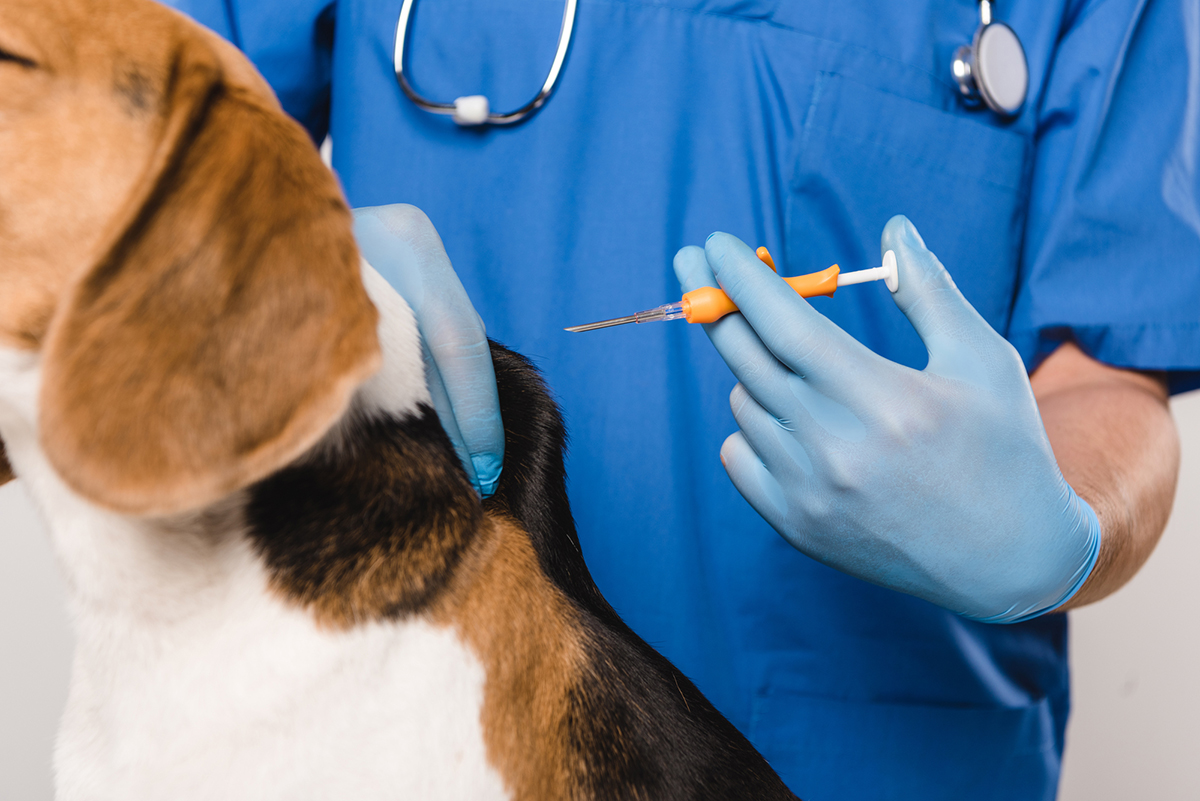
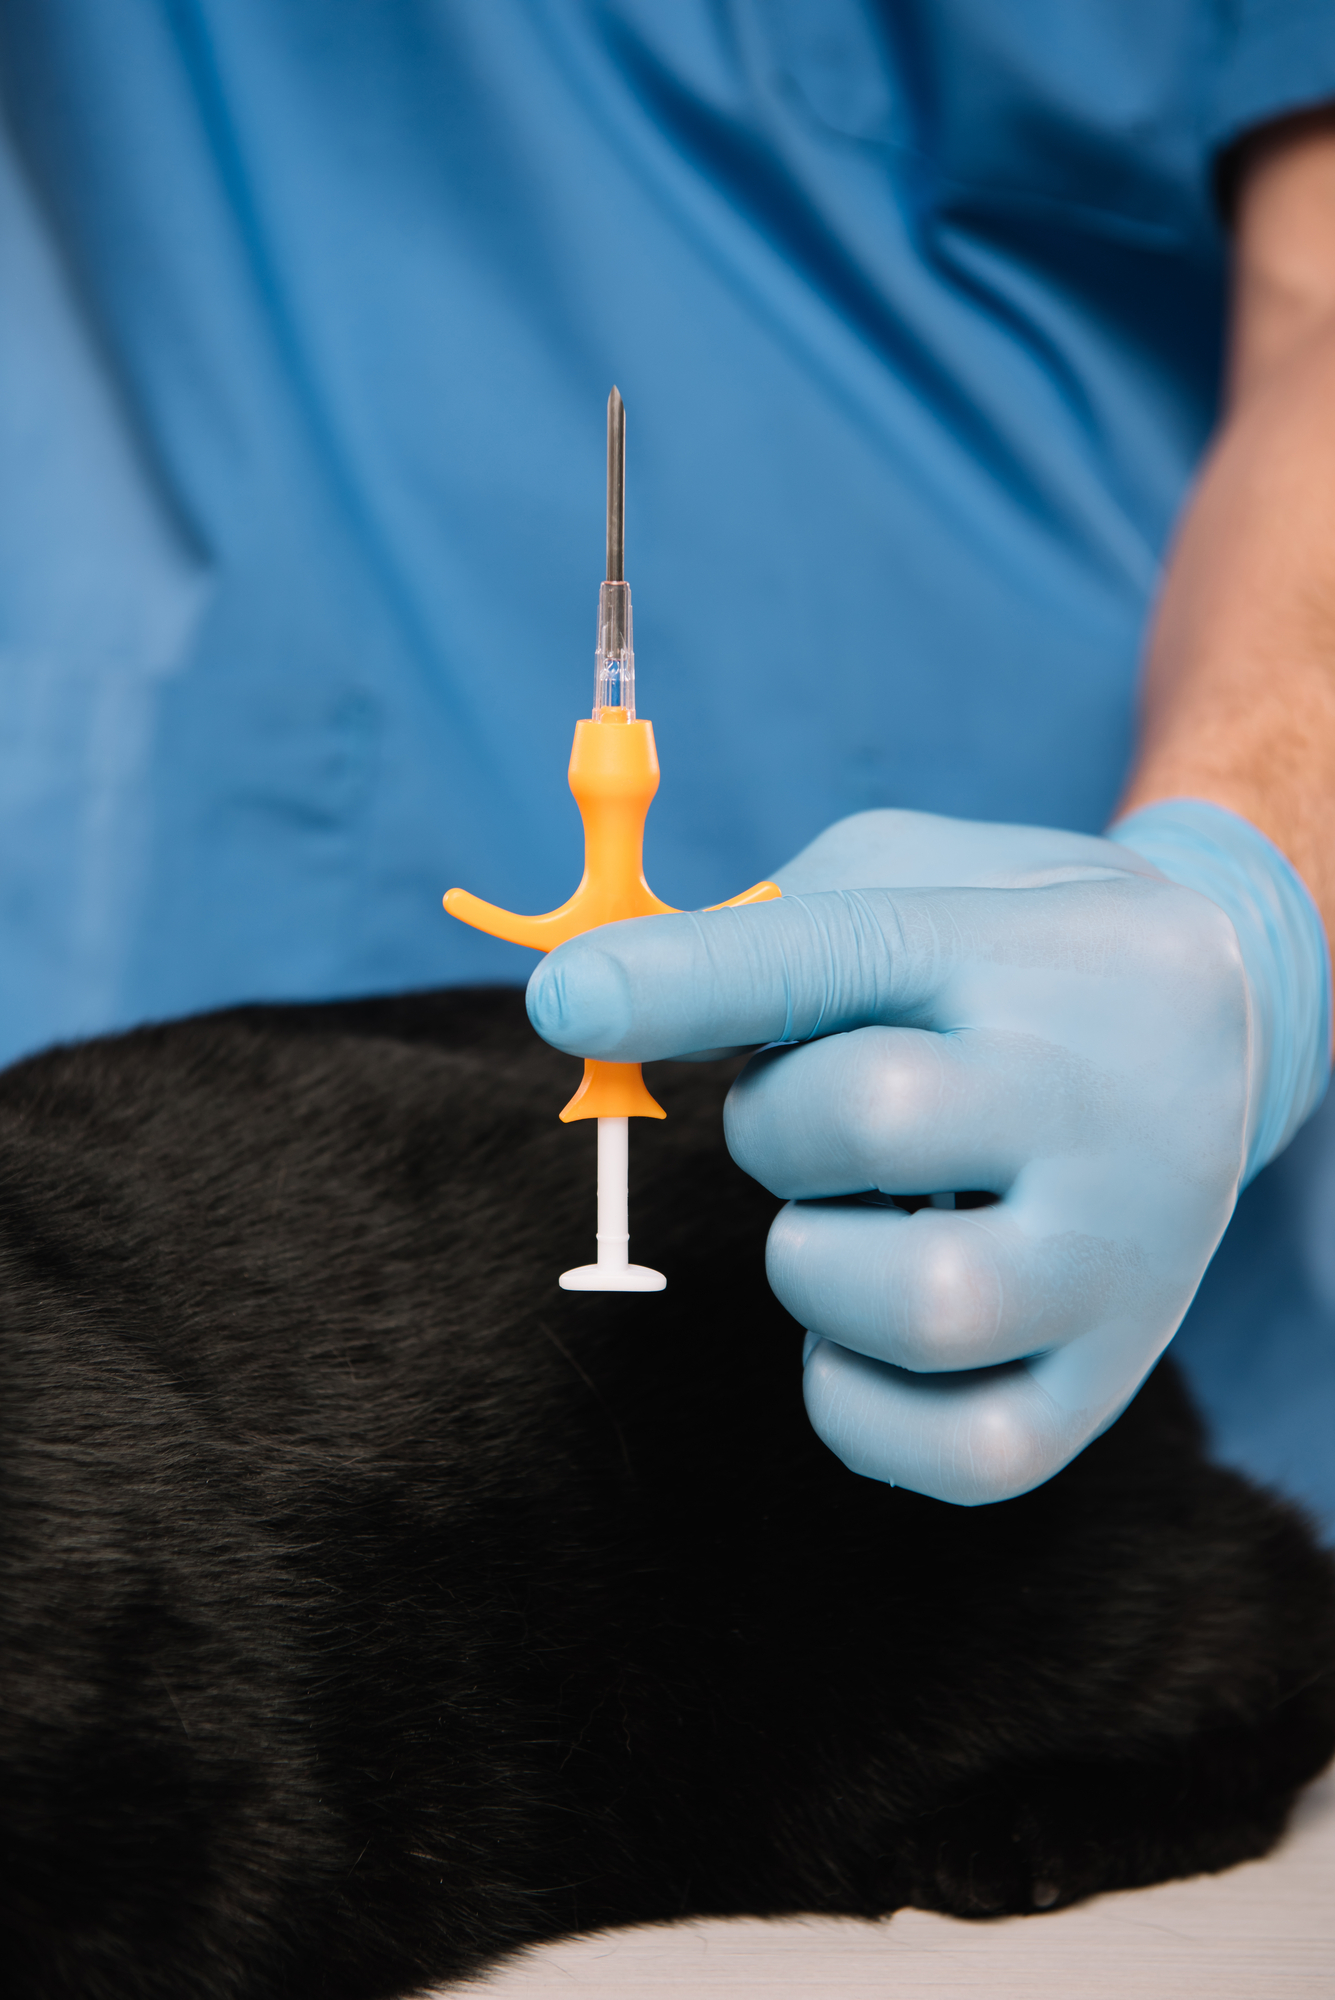
Microchips are completely safe for pets and have become standard practice. Many pet owners request microchipping when they bring their pet in for a spay or neuter. This procedure is performed in the clinic using a sterile, pre-loaded syringe.
The standard microchip placement for dogs and cats is behind the neck and between the shoulder blades. It’s safe, sterile, and quick. Plus, one microchip lasts a lifetime so there’s no need to worry about boosters.
Dogs and cats should be microchipped regardless of whether they reside mostly outside or inside your home. Rabbits, horses, ferrets, and even parrots can be microchipped, among plenty of other domestic pets.
While dogs and cats are the most common species to be microchipped, you can ask your vet about microchipping any species of pet you might own. You’d be surprised by the types of animals who are being microchipped.
The microchip is inserted using a sterile, pre-loaded syringe. The injection site for dogs and cats is most commonly between the shoulder blades.
If your fur baby was adopted from a shelter or rescue, there’s a strong chance he or she has already been microchipped. Standard practice for shelters is to microchip upon intake and examination of all rescued animals.
But why should you microchip your pet? Pet microchips come with a number of benefits. While these benefits are only capitalized on in emergency situations if your pet becomes separated from you, it’s important to prepare for a situation where that’s the case. Better safe than separated permanently.
Let’s check out the benefits of microchipping your dog or cat:
You can’t track your pet’s location using a microchip but the person who finds your pet can use it to find you. When a pet is taken to a veterinary clinic, rescue, or shelter they will be scanned for a microchip.
If a registered microchip is located it will give an identification number used to pull up your pet’s profile. This profile will include your name and contact information.
More identifying markers are not a bad thing. In order to scan a microchip, you need a microchip scanner. The average household does keep a microchip scanner in their junk drawer so it’s wise to have a more easily accessible identifying mark on your pet.
Double up with a collar and tag and a microchip to give your pet the best chances of reuniting with you.
There are always those who support and those who hate pet microchipping. Let’s debunk some common microchipping myths to stop the spread of false information.
Indoor cats can get out of a house. With that in mind, it’s always wise to prepare for the worst. Cats have a low return-to-owner rate, but inserting a microchip ups their chances of making it home.
Your pet many never get lost. But, by preparing with a microchip, you can rest assured the odds of your pet making it home are greatly improved if they ever do get lost.
Microchips are about as painful as having blood drawn. Many owners have their pet microchipped during their spay and neuter procedures while they are under anesthesia.
Unfortunately, microchipping your pet doesn’t give you an automatic GPS tracker. If your pet is lost the shelter or individual you find them will have to scan their neck for a microchip. However, microchipping scanning is a standard practice now which means it’s unlikely your pet won’t have their microchip scanned once found.
If you’re dead set on finding a GPS tracker for your pet, there are a number of options on the market. These have a higher initial and maintenance cost than other pet identification methods.

Microchipping costs generally fall below $75 for initial implantation. This is a one-time fee for the application of the microchip by the veterinarian.
Most veterinarians will scan for an existing microchip before inserting a new one. This is great if you’re unsure if your pet has been microchipped by previous owners or from the entity they were adopted from. It will also cut the cost of an unnecessary microchip and eliminate potential confusion of ID numbers if your pet is scanned for a microchip in the future.
Your pet’s microchip number won’t expire. However, you’ll want to keep the pet’s listing up-to-date. Keep track of the registering agency where your pet’s profile is held and keep it updated after you move to a new home or get a new phone number.
It’s also wise to keep an eye on the terms of your chosen registry agency. Some are free, some require a one-time fee, and some require annual payments to keep updated.
If you move or update your phone number you’ll need to update your pet’s profile on the correct registry.
If you’re unsure where your pet is registered, enter the microchip number in the AAHA Universal Pet Microchip Lookup. This will direct you to the correct registry or manufacturer of the chip. Use the results of this lookup tool to track down the registry or manufacturer you can update your pet’s profile with.
Some common pet microchip registries include:
If you have questions or concerns about microchipping, or would like to schedule an appointment to have your pet microchipped, contact us.
Read Time: 3 minutes
A beloved pet escaping or getting lost can be one of a pet owner’s worst nightmares. GPS tracking may be an option for you if you want to know where your furry family member is at all times. But before you invest your money in buying a GPS tracker, you should know both the benefits and the drawbacks of the technology and its use in finding lost pets.
Pet owners looking for the peace of mind that comes from knowing where their pet is at any given moment may find GPS tracking to be a relief.
One of the most important benefits to a pet owner is the peace of mind a GPS tracker gives them. They can log onto an app or a website at any time and check that their pet is exactly where they should be. If for any reason your pet isn’t where you expect, the GPS tracker will let you know their exact location so they’re easy to track down.
Many GPS trackers can send alerts via push notification on a mobile device to pet owners if their pet has escaped. The tracker can be set up to trigger an alert whenever a pet leaves the house, yard, or another designated area. This can help pet owners to more quickly find lost pets because they know the instant the pet has gone, reducing the risk of injuries or illness.

If you’d prefer that your dog or cat have the ability to safely explore outdoors, a GPS tracker can help you to not worry while they do. This is useful for pet owners with outdoor cats and large backyards. You don’t have to worry if you lose sight of your pet because you’ll always know exactly where they are.
Tracking a pet with GPS can help pet owners better understand what their pet does all day. They’ll know their favorite spots and where they like to explore. This can also help you to understand how active your pet is whenever you’re not there so you know if they need more physical activity and exercise when you are.
Another advantage of GPS is that there are a lot of different brands out there, which means that you’ve got the freedom to shop around and choose one that fits both your budget and your needs in terms of features. Plus, there are a variety of ranges to choose from, for example, either a range of 25 miles or an unlimited range.

With many GPS tracking systems, you can monitor multiple pets on the same system. Each would need their own tracker, but they could be registered on the same system and could be watched from the same app.

It’s important for pets to be microchipped and for their collars to have the owner’s contact information. However, with both of those options, you may have to just wait for someone to find your pet and call you. With a GPS tracker, you’ll have a location and can head right there so you don’t have to wait and worry.
You can use a GPS tracker like an invisible fence as well as a tracker. Pet owners can program in boundaries and if the pet reaches those, it can vibrate, beep, or use LED lights to warn the pet that they’re approaching the boundary.
Despite the numerous advantages of GPS tracking for pets, there are some disadvantages that pet owners should be aware of before investing in the technology.
A GPS tracker definitely isn’t within every pet owner’s budget. It can cost more than $100 for the tracking technology alone if you want a tracker with an unlimited range. On top of that, many trackers also have a subscription cost, which could also be up to $100 annually.
GPS signals aren’t perfectly clear everywhere. This means that, depending on where you live, there might not be a strong enough signal for you to effectively track your pet using GPS.
GPS trackers are powered by batteries, which only last for so long. You’ll have to keep track of the battery’s strength constantly so that the one time you let the battery get low isn’t the time your pet gets lost.
Does your pet need veterinary care?
Book your appointment to get your pet the preventative care they need at (407) 352-2579. We’ll help keep your pet healthy.
Read Time: 5 minutes
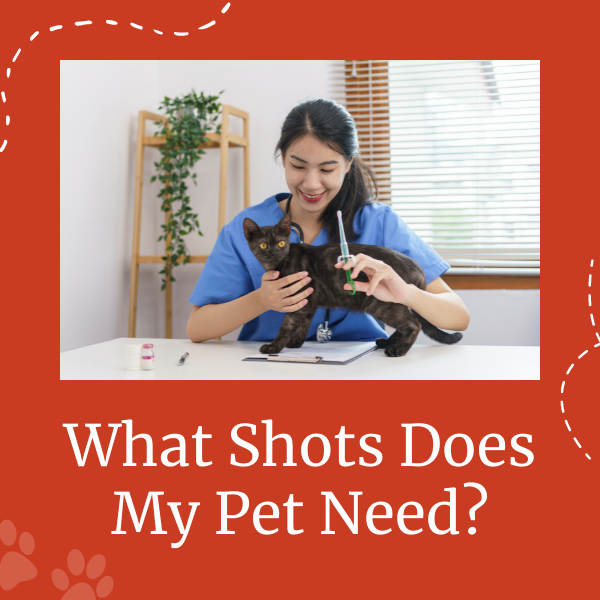
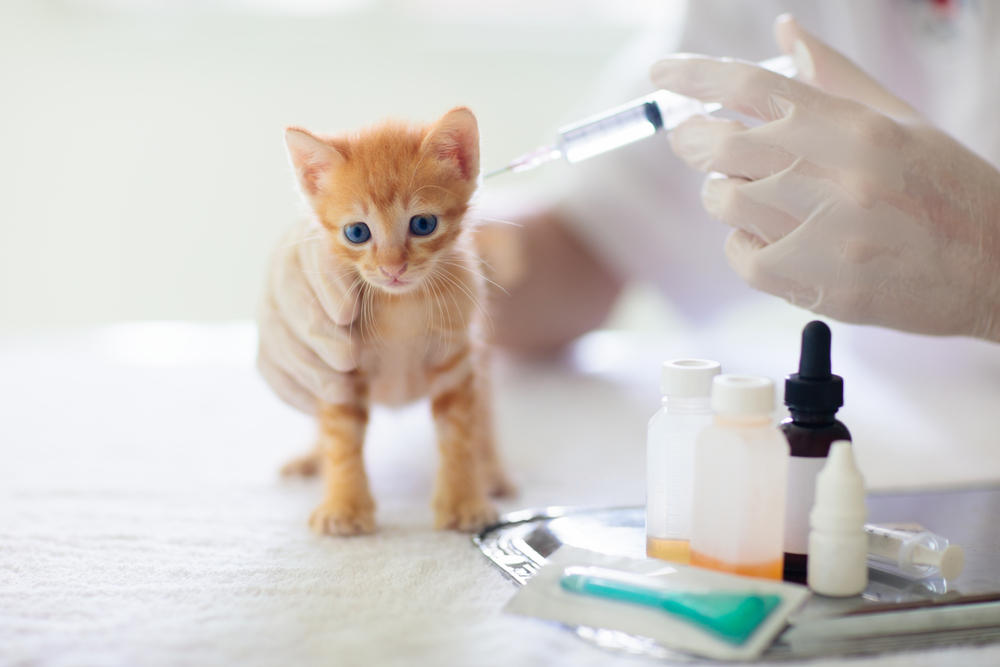
Vaccinations are a major part of keeping your pet healthy and safe. Shots can help to prevent many diseases that could be harmful or even deadly to your pet. But what shots does your pet need to get and when?
Puppies and kittens can get different diseases and therefore have different vaccination schedules. These vaccinations also differ from what shots a dog or cat needs as an adult.
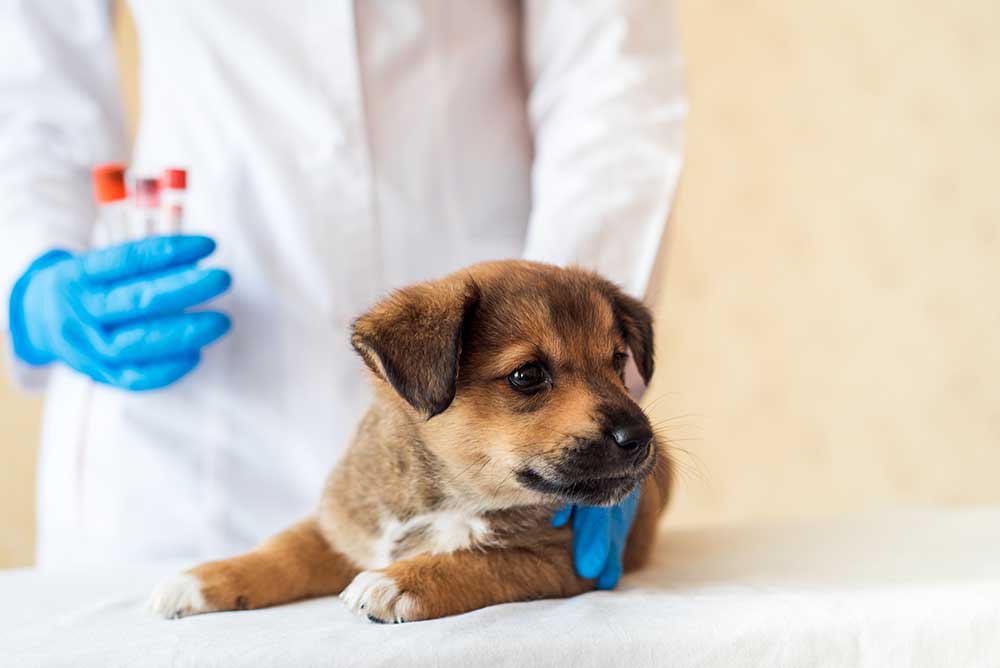
The following shots are those that puppies will need in the first 16 months of their lives. Puppies should receive their first vaccinations as early as 6 weeks old. Some vaccines may be considered optional because whether they’re needed may depend on your and your puppy’s lifestyles. Ask your vet if they recommend any of the optional vaccines.
Required vaccinations include:
Optional vaccinations include:
Require vaccinations include:
Optional vaccinations include:
Require vaccinations include:
Optional vaccinations include:
Require vaccinations include:
Optional vaccinations include:
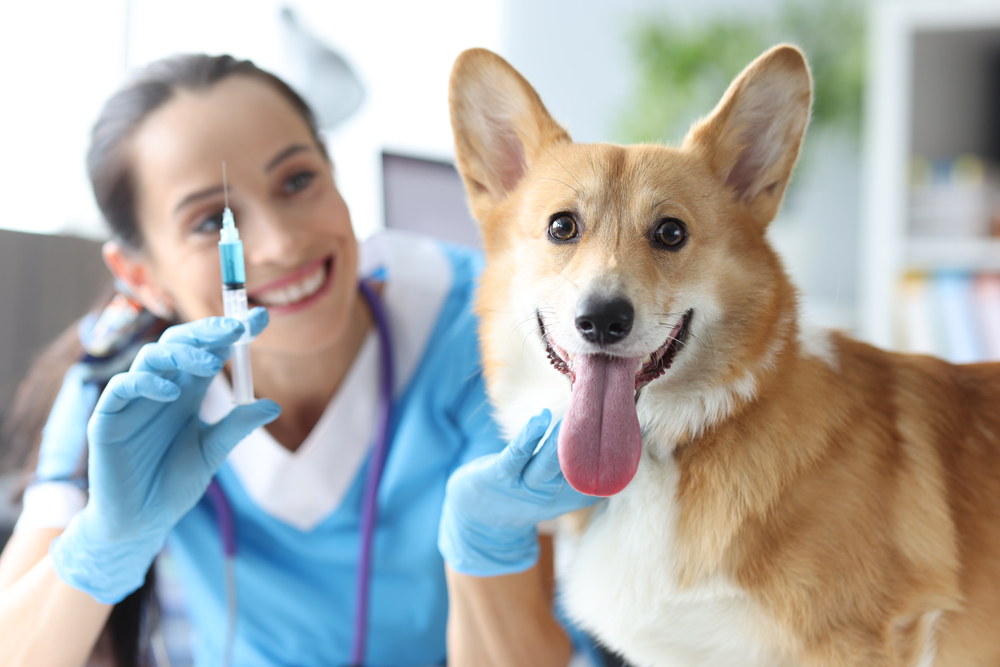
Some of these vaccines need to be administered on a regular basis into adulthood. DHPP and rabies are required but the other vaccines are optional depending on your pet’s lifestyle. Make sure to speak with your vet regarding which vaccinations your dog needs to be safe and healthy.
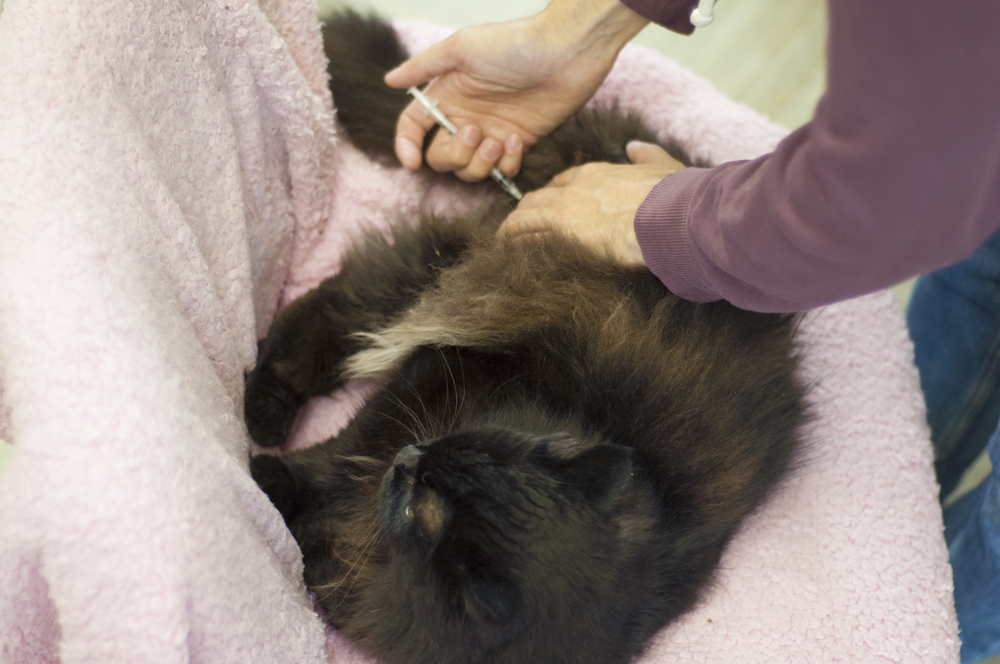
Just like with puppies, there are vaccines that are required, sometimes by law, for kittens to get at certain times. Others are optional or recommended based on your cat’s lifestyle. Speak with your vet regarding what of the optional vaccinations you should get for your kitten.
Require vaccinations include:
Optional vaccinations include:
Require vaccinations include:
Optional vaccinations include:
Require vaccinations include:
Optional vaccinations include:
Require vaccinations include:
Optional vaccinations include:
Adult cats should continue to receive the following vaccines:
How much pet vaccines cost depends on the vaccine and your location but typically range between $25 and $100. There may be discounts available at animal shelters if you adopt your pet there.
It’s vital for your pet’s health to stay up-to-date on all vaccines required or recommended by your vet. The diseases they protect your pets from could be harmful or even fatal. In some cases, like with the rabies vaccine, it’s required by law because the disease is dangerous and deadly to both animals and humans.
Not all vaccinations are legally required. The rabies vaccine, for example, is required by law. Others may be optional depending on your pet’s lifestyle and therefore wouldn’t be a legal obligation.
Concerned about your pet’s health?
Book your appointment to get your pet the preventative care they need at (407) 352-2579. We’ll help keep your pet healthy.

Read Time: 6 minutes
What you feed your puppy matters. If you feed him or her right during puppyhood, you’re setting your dog up for a life that’s both healthy and long. But it’s not just a matter of choosing the right foods. It’s also a matter of how much you should feed your puppy.
Knowing exactly how much depends on a lot of factors, including your puppy’s age and what breed it is. Larger breeds are going to need a lot more food than smaller ones.
Are you feeding a puppy or a kitten? Select the option below to jump to that section.


Puppies need special puppy food. Puppies are growing rapidly and need special nutrition that adult dogs don’t. But how much puppy food should you give your dog and when should you switch to adult food?
How much you should feed your puppy depends on its age and its breed. Most feeding guides will measure how much you should feed your puppy based on how much it will weigh when it becomes an adult. For example, a puppy that will be 3-12 pounds when it reaches adulthood should be fed ½ to 1 cups of food when it’s 1½ to 3 months old.
Below are general recommendations for how much a puppy should eat based on its adult weight. However, you should still consult the instructions on the package before feeding your puppy. Different food, especially that specifically aimed at large or small breeds, may have different recommendations.
1 1/2 to 3 Months
| Adult weight | Cups |
|---|---|
| 3 to 12 pounds | 1/2 to 1 |
| 13 to 20 pounds | 1/2 to 1 1/4 |
| 21 to 50 pounds | 1/2 to 1 1/2 |
| 51 to 75 pounds | 5/8 2 1/3 |
| 75 to 100 pounds | 1 to 2 2/3 |
| 100+ pounds | 2 2/3 + 1/3 cup per ten pounds over 100 |
4 to 5 Months
| Adult weight | Cups |
|---|---|
| 3 to 12 pounds | 2/3 to 1 1/3 |
| 13 to 20 pounds | 1 1/8 to 2 |
| 21 to 50 pounds | 1 1/2 to 2 3/4 |
| 51 to 75 pounds | 1 1/2 to 4 |
| 75 to 100 pounds | 2 7/8 to 3 3/4 |
| 100+ pounds | 3 3/4 + 1/3 cup per ten pounds over 100 |
6 to 8 Months
| Adult weight | Cups |
|---|---|
| 3 to 12 pounds | 1/2 to 1 1/2 |
| 13 to 20 pounds | 3/4 to 1 1/3 |
| 21 to 50 pounds | 1 1/8 to 2 1/3 |
| 51 to 75 pounds | 1 1/2 to 3 3/4 |
| 75 to 100 pounds | 2 7/8 to 6 1/3 |
| 100+ pounds | 6 1/3 + 1/3 cup per ten pounds over 100 |
9 to 11 Months
| Adult weight | Cups |
|---|---|
| 3 to 12 pounds | Same as for an adult |
| 13 to 20 pounds | 1 to 1 1/2 |
| 21 to 50 pounds | 2 to 3 |
| 51 to 75 pounds | 2 1/2 to 4 3/4 |
| 75 to 100 pounds | 3 7/8 to 7 |
| 100+ pounds | 7 + 1/3 cup per ten pounds over 100 |
1 to 2 Years
| Adult weight | Cups |
|---|---|
| 3 to 12 pounds | Same as for an adult |
| 13 to 20 pounds | Same as for an adult |
| 21 to 50 pounds | 2 to 4 1/4 |
| 51 to 75 pounds | 2 5/8 to 6 1/4 |
| 75 to 100 pounds | 5 5/8 to 11 |
| 100+ pounds | 11 + 1/3 cup per ten pounds over 100 |
When to feed your puppy depends on your schedule. If you divide the total amount of food your puppy should be eating each day into regular meals, then you can make up a meal schedule. It’s important to be consistent, so many dog owners feed their pets when they themselves eat – at breakfast, lunch, and dinner.
To decrease the risk of accidents, make sure to feed your puppy earlier in the evenings so it has time to digest.
Feeding your puppy the right food is just as important as how much you feed it. Special puppy food will provide your puppy with all of the right nutrients it needs to grow healthily. Be sure to check if there’s a specific type of food for the size or breed of your dog.
So long as your puppy is getting all of the nutrients it needs, it doesn’t matter whether you feed it wet or dry food. Your dog may prefer one over the other, so you can buy food according to your puppy’s preferences. You can also mix wet with dry food.
It’s a good idea to check with your veterinarian to make sure that, especially if you’re mixing wet and dry food together, you’re not feeding your puppy too many calories.
It’s hard to resist feeding a puppy treats all the time just for being adorable. But it’s important to not feed a puppy too many treats. Treats are an excellent reward, so you’ll definitely want to have some on hand for training. But keep in mind that the proper ratio of dog food to treats should be 90/10. 90 percent of your puppy’s daily calories should be in its regular dog food. Treats should only make up 10% of your puppy’s diet.
So, try to resist that cute puppy dog face unless you’re rewarding your puppy for a job well done in training!
Smaller breeds can switch to adult food a bit earlier than large breeds, which may take longer to grow into adulthood. Usually, switching to adult dog food happens at about two years old, but because it depends on the breed and your puppy’s size, talk to your veterinarian about the best time to make the switch.

When you adopt a kitten from a shelter or a breeder, it’s most likely already old enough that you can start the kitten on regular kitten food immediately. But sometimes that’s not the case. If you’ve adopted a very young kitten that is without a mother, you’ll need to bottle-feed the kitten.
How much and what you should feed a kitten depends on its age and weight. It’s important to feed the kitten the right food so it can grow into a healthy adult. You want to feed the kitten enough so that it’s getting the nutrients it needs, but you also don’t want to feed it too much, which could cause too much weight gain.
Kittens that are less than eight weeks old will need to be bottle-fed. If you’ve rescued a very young kitten, you’ll need to learn this essential skill until the kitten is old enough for solid food.
You’ll need a special bottle from a pet supply store for a kitten. You may have to cut a hold in the bottle’s nipple yourself – make sure it’s just big enough that formula can drip through it. It shouldn’t be flowing out of the bottle.
Kittens can’t just drink the milk from your fridge. You’ll need a special kitten formula from a pet supply store. Any other milk could be dangerous for the kitten, even fatal. Kitten formula will have all of the nutrients the kitten needs. Make sure to follow all instructions on the package of kitten formula so you prepare it correctly.
First, make sure the kitten is ready to eat by putting a drop of formula on its tongue. If it swallows, then that’s a good sign that it’s ready to eat. If a kitten doesn’t have a stable temperature or isn’t able to swallow, you shouldn’t proceed with feeding it.
To properly bottle-feed a kitten, lay it down on its stomach, never on its back. Make sure to support its head with your non-dominant hand (your dominant hand will be needed to hold the bottle). Be very gentle when you place the bottle into the kitten’s mouth – it should roll its tongue into the shape of a U and then start to swallow, but be patient if your kitten doesn’t get the hang of things right away!
If your kitten is extremely young and the bottle seems too big, you can try using a syringe for feeding at first.
It’s important to feed your kitten the right amount of its size and weight. The younger the kitten, the smaller and more frequent the feedings.
| Kitten’s age and weight | Formula (in ml) |
|---|---|
| 0 to 1 week (50 to 150 grams) | 2 to 6 ml every 2 hours |
| 1 to 2 weeks (150 to 250 grams) | 6 to 10 ml every 2 to 3 hours |
| 2 to 3 weeks (250 to 350 grams) | 10 to 14 ml every 3 to 4 hours |
| 3 to 4 weeks (350 to 450 grams) | 14 to 18 ml every 4 to 5 hours |
| 4 to 5 weeks (450 to 550 grams) | 18 to 22 ml every 5 to 6 hours |
| 5 to 8 weeks (550 to 850 grams) | Weaning (every 6 hours) |
Once a kitten is 5 to 8 weeks old, you should be weaning it off of formula and bottle feeding. Five weeks is when the kitten’s premolars come in, which indicates that they’re ready for more solid food. Gradually wean until the kitten is eating entirely solid food.
It’s recommended that you feed your kitten specially formulated kitten food until it’s a year old. Kitten food will have all of the extra protein and other vitamins that growing kittens need. Be careful in buying food that says that it is appropriate for both adult cats and kittens. Cats and kittens have very different nutritional needs, so it’s likely that it won’t have enough of what your kitten needs (or too much of what an adult cat needs).
Kittens should be eating a higher proportion of wet food. Their teeth aren’t very strong yet, so they often can’t eat dry food like an adult cat can. You can feed your kitten a mix of the two, but a kitten will require more wet food at first in order to get all of the nutrients that it needs.
It’s totally fine to feed your kitten treats, especially if they’re being used to reward the kitten for doing something well, like using the litter box. It’s important, however, to make sure that treats don’t exceed more than 10% of your kitten’s daily caloric intake.
The amount of food that should be given to a kitten each meal depends on the type of food. Check the packaging for instructions on daily or meal portions. Be careful not to overfeed your kitten – it’s much easier to prevent obesity in the first place than it is to put your cat on a diet later on.
When to Feed a Kitten
Kittens are snackers. They like to eat at least up to four times a day. They also need a lot of calories because they’re growing rapidly – doubling or even tripling in weight. They also have up to triple the energy levels of an adult cat.
If you’re feeding a kitten only wet food, then it’ll need to eat four times a day. If you’re mixing wet food with some dry food, then twice daily may be sufficient. Another option is to free-feed your kitten until it’s between four and six months old, at which point you can switch to scheduled mealtimes.
Unless your kitten is of a larger breed, like a Maine Coon, which reaches maturity at around eighteen months, kittens can generally switch to adult cat food at around a year old. If you’re unsure, consult with your vet to make sure you’re feeding your cat the right food.

“Dr. Qasim has been amazing with caring for my aging dog. He goes above and beyond every time he sees her. The hours are extremely convenient with my inflexible schedule, since they are open evenings and on weekends. They always see me on short notice without any hassle. I’m so glad I found them.”
“Empathetic doctor and staff took care of us and our pet. I am very grateful. Excellent team that actually cares for the people and the animals.”