

People and pets can be prone to the occasional cough or shortness of breath. However, if your pet is showing signs of heavy or slowed breathing, there may be a bigger health problem at hand.
People and pets can be prone to the occasional cough or shortness of breath. However, if your pet is showing signs of heavy or slowed breathing, there may be a bigger health problem at hand.

Sometimes we wish we could give our pets all of the same yummy foods that we eat, but some treats are off-limits for their digestive systems.
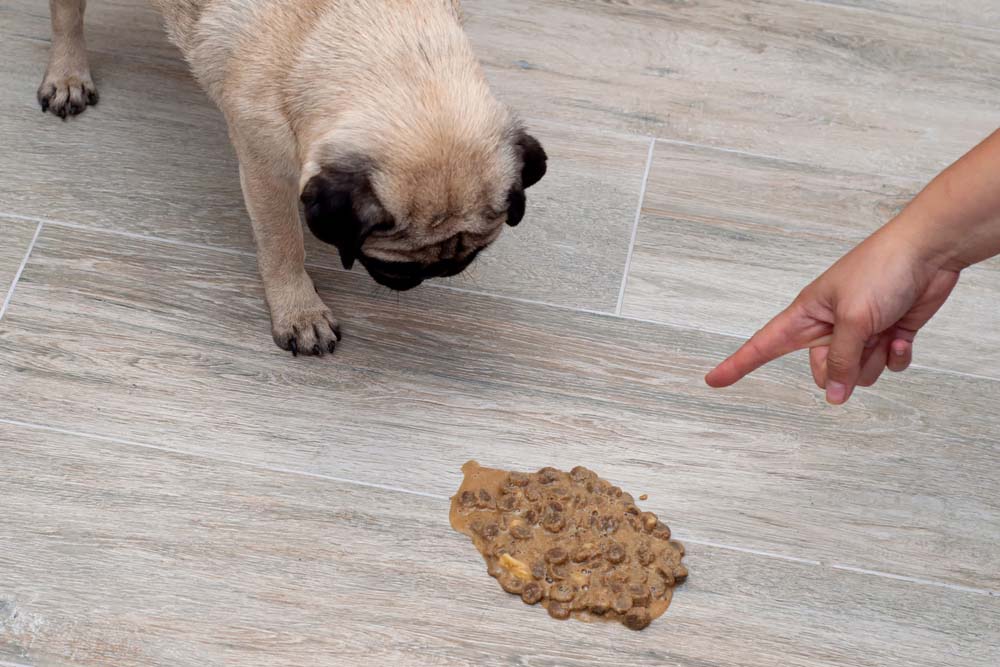
Sometimes vomiting in animals can be as simple as indigestion, but there are some cases of vomiting that may point to something more serious.
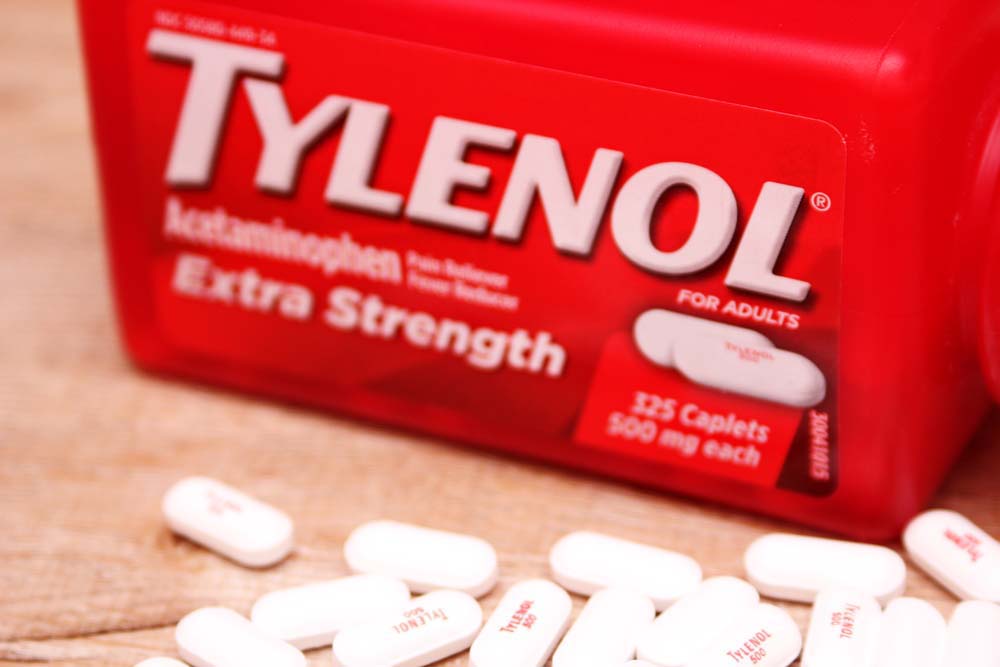
If your dog has swallowed Tylenol, contact your vet as soon as possible

Many pets can’t wait until they get to eat. They may even bother their owners incessantly until they get their fair share of food.

Grapes can be toxic if dogs consume them. Depending on how much your dog ate, there are several things you can do.

Understand the different reasons why your pet may be sneezing and when to see a vet.

As the fourth most toxic food for dogs, chocolate can cause extreme distress in dogs. In severe cases, some dogs can even die.

All pets may shake and tremble from time to time, but there may be some instances where shaking may be cause for concern.
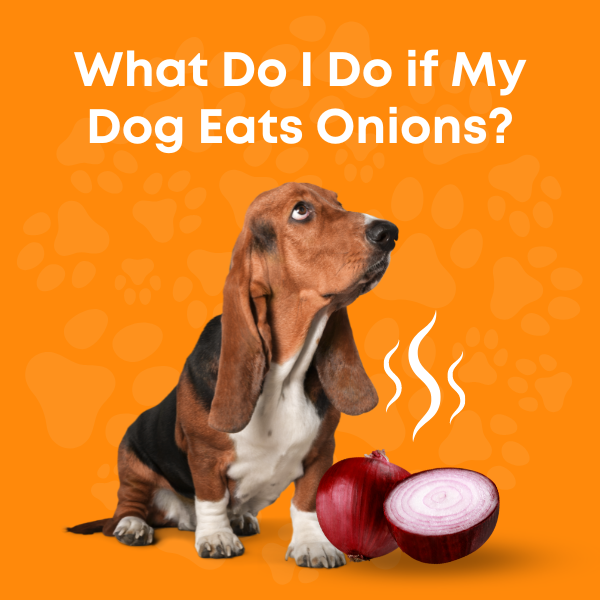
Onions can be toxic for dogs. While in small amounts they may only experience some mild indigestion, high portions of onions can have severe effects on your canine’s health and longevity.

“Dr. Qasim has been amazing with caring for my aging dog. He goes above and beyond every time he sees her. The hours are extremely convenient with my inflexible schedule, since they are open evenings and on weekends. They always see me on short notice without any hassle. I’m so glad I found them.”
“Empathetic doctor and staff took care of us and our pet. I am very grateful. Excellent team that actually cares for the people and the animals.”


